DIY Sessions #2 - How To Make Confetti Cones Using Doilies
I love confetti at a wedding, and who doesn't?!Preparing for our wedding last summer all our family and friends were so excited for the big day! So we knew there had to be confetti involved! And what a better way to celebrate than being covered in confetti! I looked everywhere for something that could hold the confetti but wasn't too fancy or costly. After searching high and low I couldn't find anything within our budget, but loved the idea of cones! So I came up with my own confetti cones using doilies! Not only are they easy to fill, but look so pretty and fit in with any wedding!
For this DIY session I am going to show you how you can make your own confetti cones using doilies! So lets’ get started!
You’ll need
Doilies
Double Sided Tape
Scissors
& Confetti
1. Gathering your Doilies together - One doily makes 2 confetti cones so have this in mind when buying your doilies. I used paper doilies bought off of Ebay (an online market place) a great place for bargain buys.
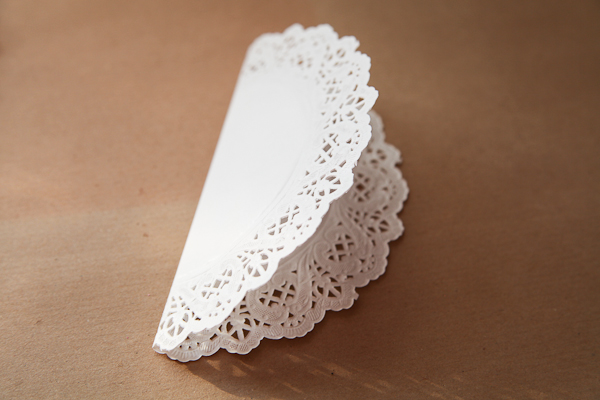
2. Fold each doily in half- This is to find the centre of the doily.
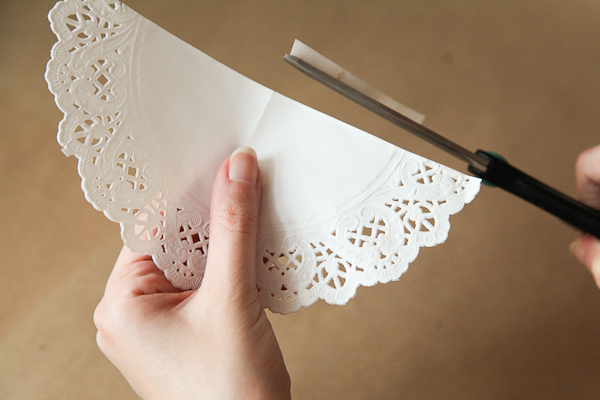
3. Cut all your doilies along the fold line - Creating half doilies
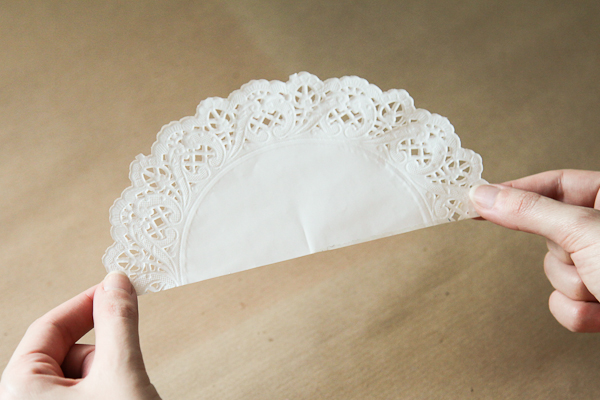
4. Fold your doily in half again but only creasing to mark the centre point of the doily on the cut straight edge
5. Cut a strip of double sided tape the length of one half of the doily- Start from the centre point of the doily, and stick the double sided tape at an angle out to the edge of the doily, creating a small triangle area of double sided tape.
6. Cut off the excess of tape
7. Peel off the coat of the double sided tape exposing the sticky surface
8. Hold the two ends of your doily and bring them in close creating the beginnings of your cone.
9. Now time to stick - This part gets a bit fiddly, but don't worry. Place on the table, still holding the two ends, place the side without double sided tape on top of the other, forming a small triangle to the centre of the cone, and start pressing down and sticking from the top of your doily (lace patterned area) and continue all the way down so the double sided tape make contact and sticks both sides together.
And just as quick as you could say confetti, you have your confetti cones!
Have a basket ready of confetti and whilst your signing the book of marriage, have your bridesmaids or groomsmen on the side scooping and filling each cone and passing them around to everyone. This worked wonders at our wedding! The confetti here is all hand made by me and another DIY session coming soon!
Show me how you got on with your confetti cones!


